Firstly we knew we wanted to use MASH for placing our assets around the scene as placing by hand seemed overly time consuming. The MASH application seemed fast and efficent and would considerably speed up the process of placing our many assets. In our short we have 7 different scenes. These are as follows
- scene 1 (FOREST)
- scene 2 (FOREST)
- scene 3 (DARKER FOREST)
- scene 4 (HOUSE BESIDE AN EERIR FOREST)
- scene 5 (HOUSE INTERIOR)
- scene 6 (INTERIOR OF THROAT)
- scene 7 (BESIDE HOUSE)
RESEARCHING MASH TUTORIALS ON PLACER AND DISTRIBUTION NODES
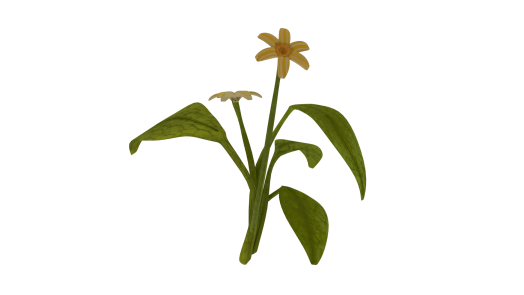
As you can see many of these scenes are forest-based meaning there will be a huge quantity of shrubs plants and rocks littering the ground, not to mention the trees. Therefore MASH would be a tremendously helpful system. Below is an example of tutorials I followed in order to get my head around MASH for Maya 2017.
Below is a very typical example of what my MASH setup is for pretty much every scene. Generally I use it fro any enviorment asset that will need created on mass, fro example trees, rocks, mushrooms and the large variety of plants created. These can all be placed in a MASH placer node (seen on the right hand side). I usually create –
- A placer Node
- A distrubte node
for each object. If we have say, four different types of rocks, then I can enter all four into the same node, and within the settings choose the frequency of the placement, the scale and rotation and randomize them. As well as this there are also tools that allow me to edit them once placed. Herein lies the problem I have with MASH.

ISSUES WITH MASH
While MASH is clearly a very handy and powerful tool I found that the lack of ability to precisely edit my assets was a big problem. If I have 100 nettles clustered together, it is virtually impossible to select out a few individuals. This is a problem when it comes to characters colliding with objects in a scene.
MAKING PROXIES FOR THE ASSETS
Natasha and myself created a asset list that would allow us to go through when
- Proxies were made
- Assets were modelled
- Assets were UVed
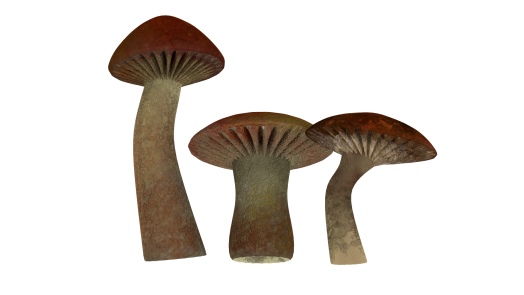
- Assets were Textured
- Assets were rigged (If needed)
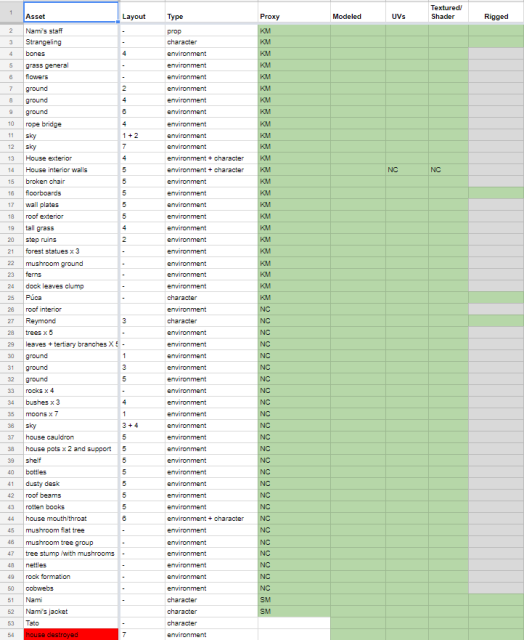
These would then be Checked off with orange when in progress and green when finalised. Me and Natasha divided up the assets between us, however as the workload progressed and Natasha ended up moving on to animation I ended up Texturing and modelling a few of her assets.
PROXIES INTO MASH
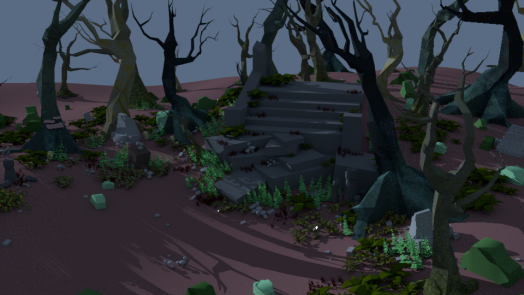
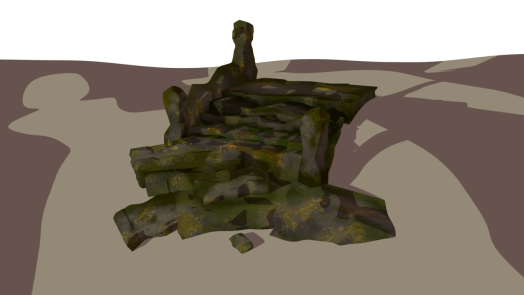
The first scene that I started laying out in MASH was scene 2, in which Puca is introduced. He appears ontop of some stone steps and so I threw together of rough model of those and the ground first to help find the sense of space. I then started blocking in where different plants and assets could go to help fill the scene. I had a rough idea of where the different cameras would be based off the animatic and storyboards.

ADDING TEXTURES TO GET A SENSE OF COLOUR
Below you can see a rough texture on all of the proxy models. These were added to give a very early feel for what the scene could be like. I quickly realised that green plants felt too ordinary for such a bonkers fantastical world.
I then referred back to Natasha’s initial concept art which featured a muted pink hue. I took this and sorcha’s colour script and used them in an effort to colour the scene. Notice below the first colour block on the chart. These reds and oranges were what we wanted.

(Sorcha’s colourscript)


TEXTURING THE STEPS AND OTHER ASSETS
I then used Substance Painter to texture some of the assets in the scene, below you can see some up close shots of the steps texture. I drew up some celtic animal designs and scattered them over the stone work.


When the CEL Shader was added I sadly had to lose some of this normal Map detailing but it was for the best in the long run.
I also created a variety of other assets for this scene, however these designs are prior to when we decided to use a cel shader. The cel shader answered of problem of the designs being too realistic and not as illustrative.